
Building a Seasonal POD Drop: Timed Mockup Production Before the Trend Peaks
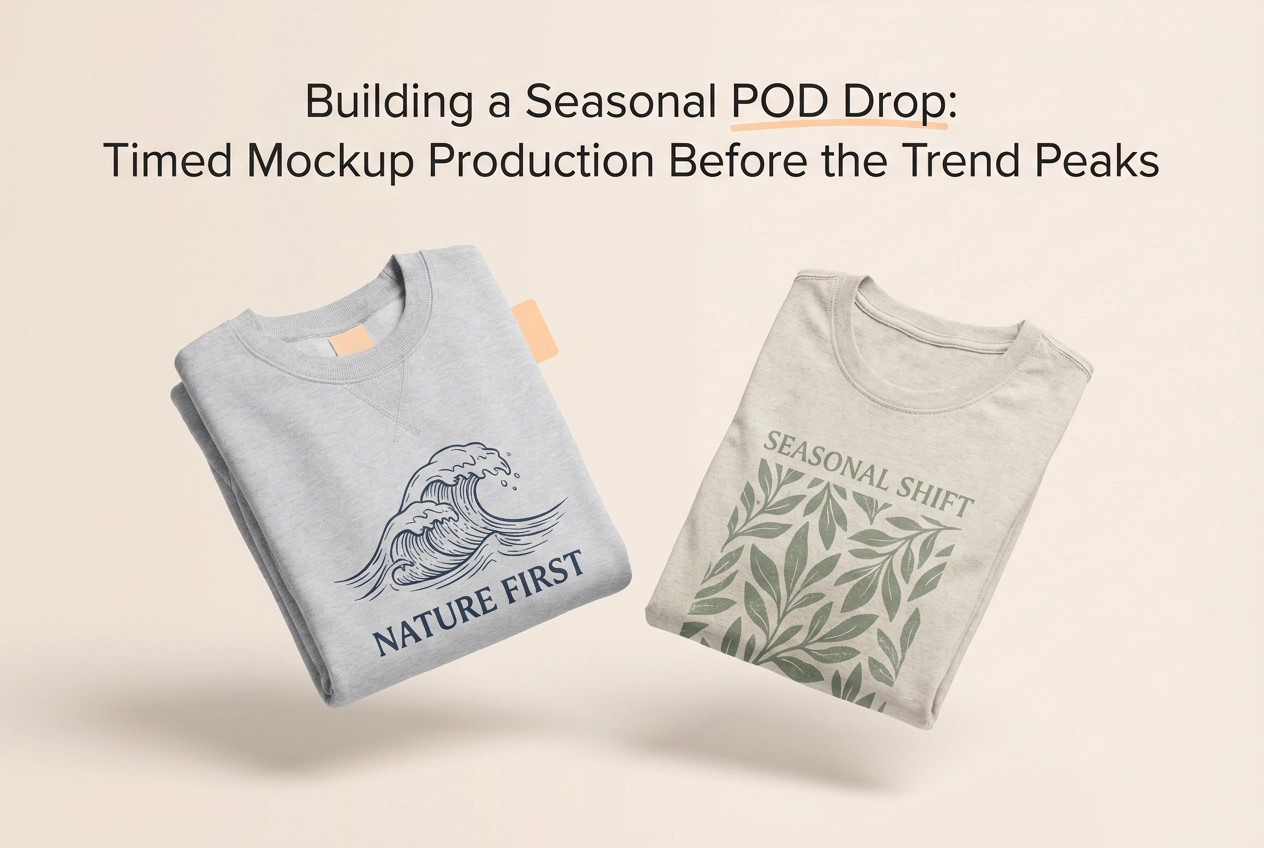
Success in trend-led print on demand rarely belongs to the seller who reacts fastest at the height of a trend. It belongs to the seller who is already visually ready when demand starts climbing. That is the logic behind building your seasonal POD drop on the ramp rather than the peak, and it is especially relevant if you are targeting the competitive print on demand United Kingdom market, where timing and presentation can make the difference between a launch that gains traction and one that gets buried.
This guide walks you through a repeatable, calendar-led approach to seasonal releases. You will learn why the ramp beats the peak for seasonal POD drops, what to set up before your calendar starts, and how to map seasonal trend windows. We will then cover working backwards to set production lead time, batch-generating a full drop's mockups, staging listings before the window opens, and launching on the ramp while reading early signals. You will also see a worked timeline, common timing mistakes, and how to turn the whole process into a seasonal playbook you can reuse.
Mocksy supports t-shirts, sweatshirts, hoodies, and tank tops only, with 11 garment models and 157 colours in total. You can try it for free with 3 mockups, no registration required, so you can start preparing your next seasonal drop today.

Why the Ramp Beats the Peak for Seasonal POD Drops
Buyer interest in a seasonal product climbs gradually before hitting a high point, yet most sellers publish their visuals right at that peak, when every competitor is competing for the same attention. This ramp-versus-peak model is a planning strategy built on reasoning, not a measured result. Two mechanics drive it: production lead times create a hard deadline, and attention saturation at peak makes late imagery cost more than early imagery.
The practical cost of a late visual set is concrete: rushed listings, inconsistent garment images, missing colourways, and a drop that reads as improvised rather than as a collection. A t-shirt mockup set finished a week late rarely gets rebuilt properly afterwards, as this look at cutting product photography costs with AI mockups illustrates.
Analysts track print on demand over multi-year forecast windows: Grand View Research (2026-2033), Precedence Research (2026-2035) and Mordor Intelligence (2026-2031). Cite each separately; never blend them into one figure.
The method is vendor-neutral. Timing discipline is the point, and any mockup tool is a speed multiplier you can swap without changing the calendar.
Prerequisites: What to Set Up Before the Calendar Starts

Before you map a single date, confirm five foundations. First, a design pipeline you trust: layered source files, licensed fonts and stock elements cleared for commercial print, so a rights question cannot stall you mid-season. Second, a seasonal map for your niche and market. If you sell print on demand in the United Kingdom, note UK gifting seasons, summer and festival windows, back-to-school timing, and how delivery expectations affect how early a drop must be live. Third, a mockup method that produces a whole drop in one pass. One-image-at-a-time workflows are the usual reason a seasonal drop misses its window. Fourth, a SKU-based file and naming convention, so any t-shirt mockup is findable when a listing needs it. Fifth, check your platform's current rules on product visuals and AI-generated imagery before bulk upload, as these vary and change. A structured review helps; use this apparel mockup checklist to catch gaps early.
Step 1: Map Your Seasonal Trend Windows
With those foundations in place, the calendar begins with the trend window itself. List every seasonal peak that matters to your shop, then write a start date beside each one. The peak is when you need to be present; the entry point is when you need to be ready. Capture both.
Find the beginning of the climb using free search-interest data, marketplace bestseller movement and social momentum in your niche. If interest starts rising in early October, that rise, not the mid-November high point, is your deadline.
UK sellers should map each window against local buying habits. Cold-weather apparel and hoodies cluster into autumn and winter gifting; tank tops and lighter garments into late spring and summer event season.
Tier the drop rather than treating it as one block: two or three hero designs, a few supporting designs, and a small set of test designs, each with its own assets-ready date. Deciding which pieces deserve the most imagery upfront is easier once you know which POD products benefit most from professional mockups.
Write every deadline as an assets-ready date, not a launch date. Visual production is what people underestimate, so it needs its own line in the calendar before you move on to lead times.

Step 2: Work Backwards to Set Your Production Lead Time
With your tier deadlines set, work backwards from each ramp start date. Subtract listing preparation and any platform review time first, then mockup production, then design finalisation. Each subtraction creates a dated checkpoint with a named owner.
Build slack into the visual stage specifically, not the design stage. Roughly a third of the visual stage is a sensible buffer, because re-renders and last-minute changes land there.
Account for print on demand's physical side too: sample orders, supplier production time and any photography for non-mockup imagery. This keeps the digital assets and the physical product in agreement.
Then set a visual freeze date and hold it. After that point, allow only corrections to errors, never new ideas, however good they look under pressure.
The aim is simple: imagery should never sit on the critical path. If the mockups are finished before the window opens, launch is a scheduling decision rather than a scramble. If you need to compress that stage, see how to generate 5 professional mockups in one click (free trial).
Step 3: Batch-Generate the Whole Drop's Mockups
With those dates fixed, the visual stage becomes a single production run rather than a hundred small tasks. The batch logic is simple: take one finished design and generate every garment and colourway combination in one pass.
Plan coverage against your calendar. A t-shirt mockup set for hero designs, hoodies and sweatshirts for cold-season windows, and tank tops for summer drops will cover most seasonal calendars. Mocksy, an AI-powered mockup generator, creates multiple professional product mockups in one click, with 11 garment models and 157 colours across t-shirts, sweatshirts, hoodies and tank tops only. Sellers can try it free with 3 mockups, no registration required.
If you sell wall art, treat it separately. Poster mockup production follows the same batching principle but sits outside apparel mockup tools, so schedule it as its own track. Mocksy covers apparel only, with no posters or other product categories.
Finish with a quality-control pass on the batch: check print placement and scale, confirm colour renders match the intended design, and remove any stretched or misaligned graphic before it reaches a listing. Channel specs differ, so check each marketplace's mockup requirements rather than reusing one export everywhere.
With the batch approved, Step 4 covers staging listings so launch day is a scheduling decision.
Step 4: Stage Listings and Assets Before the Window Opens
With your batch rendered and quality-checked, the drop now depends on staging. Treat images and listing copy as one deliverable: write titles, descriptions, tags and alt text while the mockups are fresh. Copy postponed to launch week rarely gets finished once orders arrive.
Where your platform supports it, set scheduled publishing or save unpublished drafts. That way the drop can go live on the ramp start date even if you are away from the shop.
Keep framing, background and lighting consistent across every image so the collection reads as a set. A coherent set is recognised faster on a category page than a mixed one. Add size and garment details into the image sequence where allowed; sizing questions can precede abandoned carts in seasonal apparel. This is also where UK Etsy and Amazon sellers can win every listing image slot with AI mockups pays off, because visual consistency supports click-through.
Before publishing, check your platform's current rules on product imagery, including generated or altered visuals. Confirm titles, claims and alt text meet the same standard.
Step 5: Launch on the Ramp and Read the Early Signals
With listings staged and copy ready, publish while interest is still climbing. The ramp gives you a working window: clicks, saves and early conversions tell you what is landing before peak competition arrives. Track specific signals rather than vanity metrics: click-through rate on the mockup image, save and wishlist behaviour, and which colourway converts first. Those three show what to amplify.
Reinforce winners while the window is open. Promote the leading colourway in marketing assets, and if one garment is clearly outperforming, generate a second colourway from the same design as a fast addition. Keep hero visuals stable through the peak. Mid-season image swaps confuse returning visitors and reset the recognition your listings have built.
After the window closes, log dates held, images produced and which signals predicted the winner. That record feeds next season's calendar and is the only way your timing model improves. For a marketplace-by-marketplace view of which visual style suits each channel, see this POD mockup strategy for UK sellers.
A Worked Timeline: From Locked Design to Live Drop
With last season's signals logged, turn them into a calendar. The following example is illustrative. Assume a mid-November gifting peak, three hero designs across two garments, four colourways each, and 24 mockup images.
To be live on 1 November, asset production must finish by mid-October. Designs freeze about ten days before, around 5 October, and concept plus file preparation starts roughly a month earlier, in early September.
Batching changes the arithmetic. At 15 minutes each, 24 images take six hours one at a time. Produced in batches, the visual stage compresses to a fraction of that, and the saved time becomes buffer rather than deadline.
If designs freeze a week late, the buffer absorbs it and the launch date holds. If they freeze two weeks late, cut the test tier, keep the hero tier and never cut the mockup pass.
Rebuild the chain with your own peak date, platform review time and image count: it is a template, not a recommendation. For the promotional layer after launch, this guide to using product mockups in social campaigns without a designer follows the same asset logic.
Timing Mistakes That Cost You the Window
The worked chain only holds if the calendar behind it is respected. These are the five errors that break it most often.
Treating the peak as the deadline. The peak is the closing date for being present, not the date to start work. It is the single most common planning error in seasonal drops.
Designing during the ramp. If artwork is still being finalised while interest climbs, the visual stage has already moved onto the critical path, and no buffer can absorb it.
Generating mockups one image at a time. Each colourway you add lengthens the queue, which is exactly the bottleneck the seasonal calendar exists to remove. Batch production removes it instead.
Ignoring delivery realities. A UK-facing drop that goes live after the last posting dates for a gifting season may miss the buyers it was built for, however strong the visuals. Check the current cut-offs for your services before you fix the launch date.
Skipping the archive. An undocumented drop has to be rebuilt from scratch next season, and last year's timing data is the one asset a repeating seller should never lose.
Avoid these and the calendar holds.
Your Repeatable Seasonal Playbook
Those mistakes are avoidable once the calendar exists. Build it backwards from the ramp, freeze designs early, batch the mockup production, and the visuals stop being the reason a launch slips.
Three actions this week:
Map your next seasonal window and its ramp start date.
Set an assets-ready date with a buffer, and hold it.
Batch-produce the full drop's mockups in one sitting, not across several days.
The method stays vendor-neutral; any workflow that can batch output will do. Mocksy is worth testing as the production step: it creates multiple professional product mockups in one click across 11 garment models and 157 colours, and you can try it free with 3 mockups, no registration required.
The calendar is the asset, the imagery is the output. Sellers who own the timing hold the advantage over sellers racing the peak.
Conclusion
The seasonal drop rewards the seller who owns the calendar, not the one racing the peak. Build your trend windows backwards, freeze designs early, and batch-generate the full drop's mockups in a single sitting. Then stage listings and assets ahead of the ramp, so launch day is execution, not production.
The calendar is the asset, the imagery is the output. For the production step, Mocksy creates multiple professional product mockups in one click across 11 garment models and 157 colours, and you can try it free with 3 mockups, no registration required. Map your next window this week, and let your timing do the selling while everyone else is still catching up.